
Nina Out and About contains affiliate links and is a member of the Amazon Services LLC Associates Program. If you make a purchase using one of these Amazon links, I may receive compensation at no extra cost to you. See my Disclosure Policy for more information.
Hiking the Cup and Saucer Trail on Manitoulin Island
The Cup and Saucer Trail is one of the most popular hiking trails on Manitoulin Island.
Located on the southern shore, it’s a quick and easy hike that provides hikers with stunning views along the way.
You’ll be hiking through forests, alongside lakes and streams, and even past old-growth trees!
This blog post will guide you through everything you need to know about hiking this trail – from what supplies to pack for your adventure, to important safety tips for when you’re exploring alone or with friends.
The goal is simple: we want all hikers visiting this trail to enjoy their experience without any mishaps along the way!
Find out where to stop for the best views, the best time of day to visit, and how to get an adrenaline-inducing picture. Read on to learn all this and more!
I recommend these hiking boots
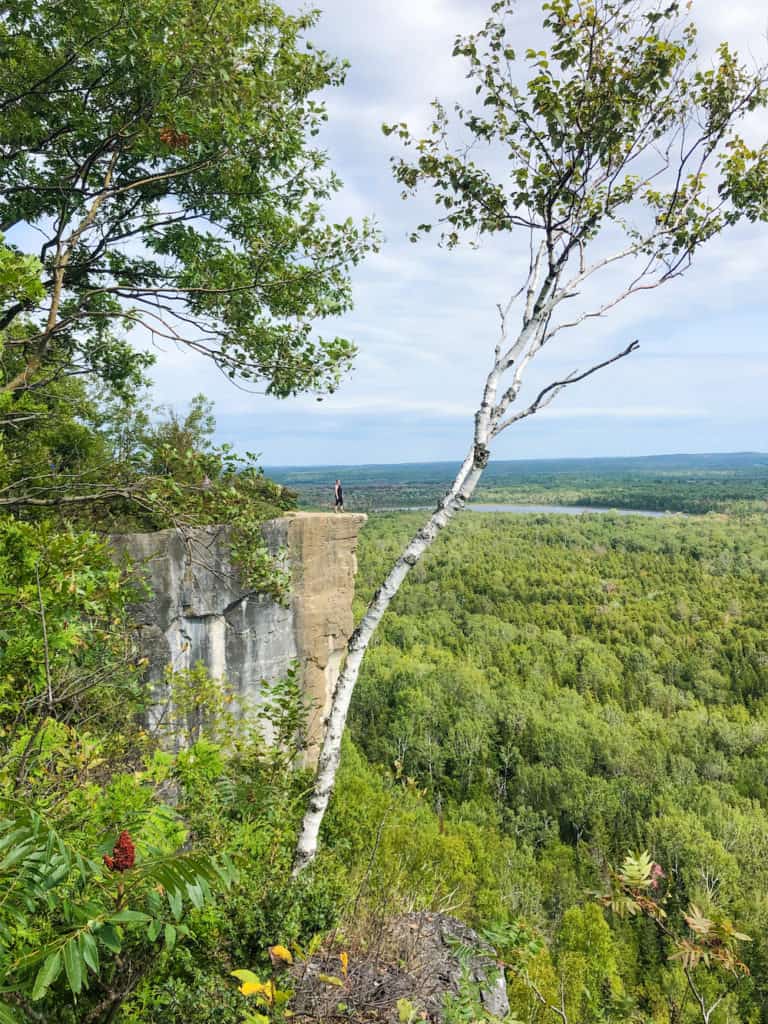
What is the Cup and Saucer Trail
The epic Cup and Saucer trail is the best-known hike on Manitoulin Island. In fact, it’s one of the most loved hiking trails in Ontario!
This stunning trail combines three paths that give you the option to make your journey more difficult or easier, depending on your skill level.
More adventurous hikers can take on additional “difficult” trails that will severely challenge their cardio, and their stair-climbing ability. They’ll be summiting the 70 metre cliffs much faster than on the slow 12km of hiking trails.
The Cup and Saucer Trail is a part of the Niagara Escarpment that travels north from near Toronto, running up to Manitoulin Island. The Escarpment is a World Biosphere Reserve that promotes research and education on animal life.
You’ll see the famous Canadian Shield that developed over 450 million years ago, creating the sharp limestone cliffs you see today when glaciers carved through the region.
Located in the Great Spirit Circle Trail, a visit to the Cup and Saucer Trail isn’t just a pleasant hike, it’s also a cultural experience.
Map of the Cup and Saucer Trail
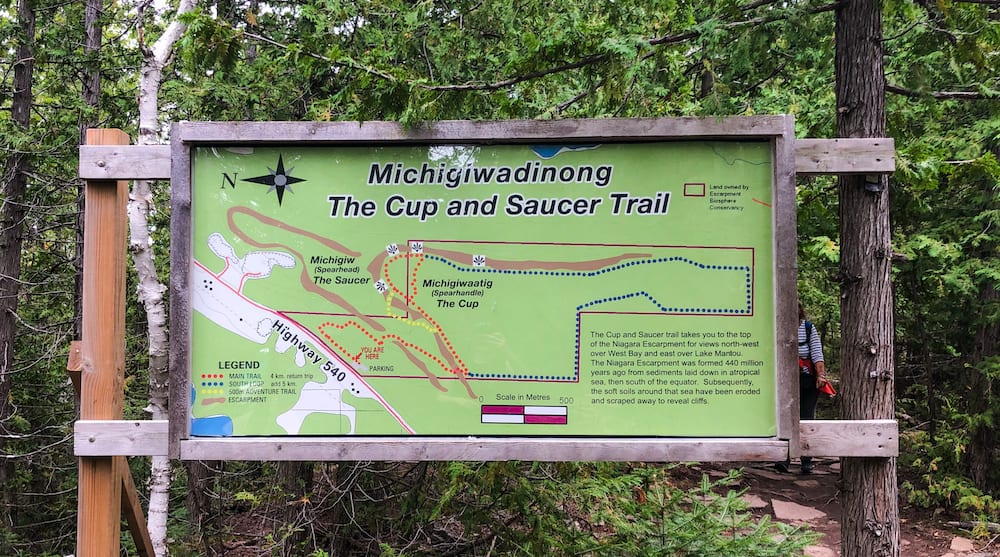
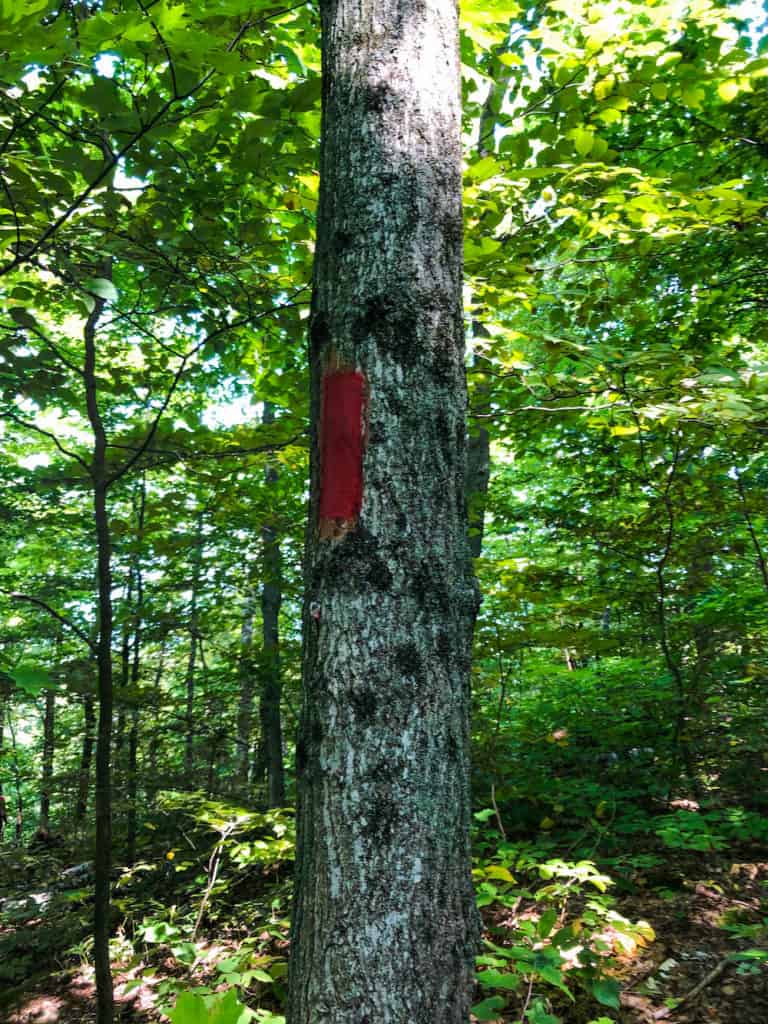
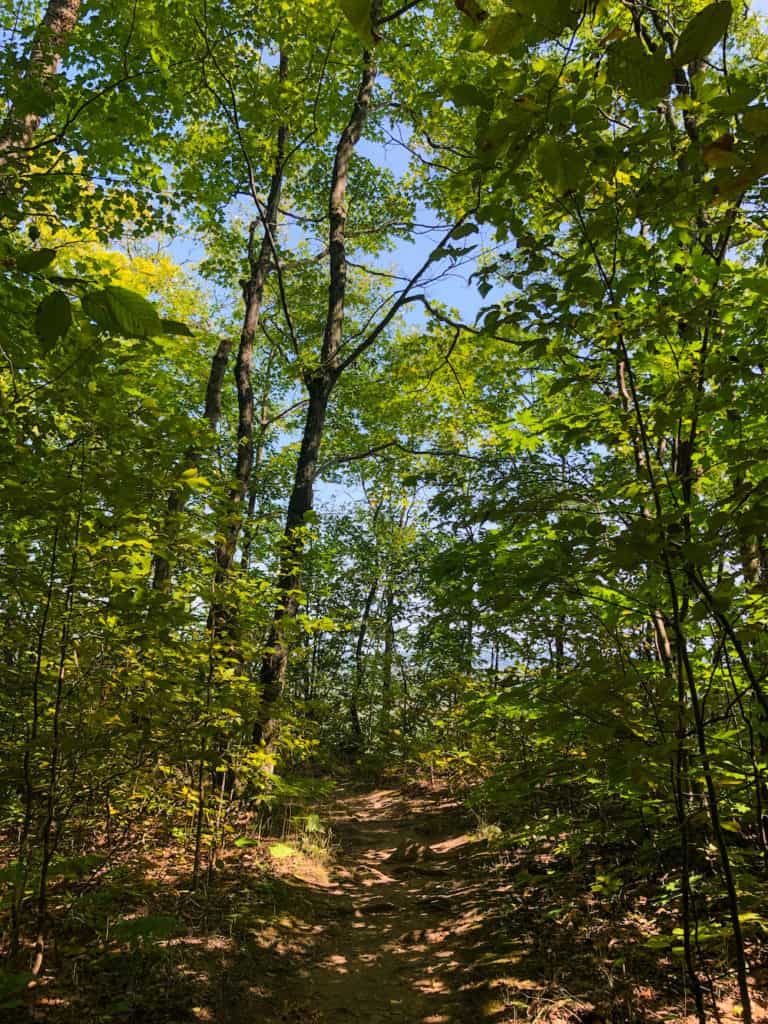
Red Main Trail (Easy – Moderate) – 5k
The main trail, also known as the Red Trail (as it’s shown on the map), is where you’ll get the best views over the edges of the cliffs.
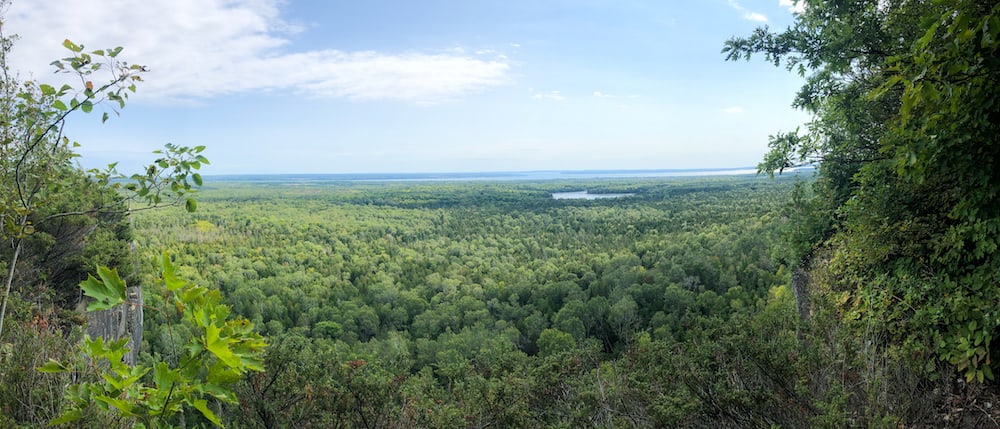
It leads up from the parking lot, carving a path through the wilderness and the jagged cliffs, to help you ascend to the summit. From there, you can wander along the edge of The Cup, where you’ll get stunning views over the North Channel and Lake Manitou.
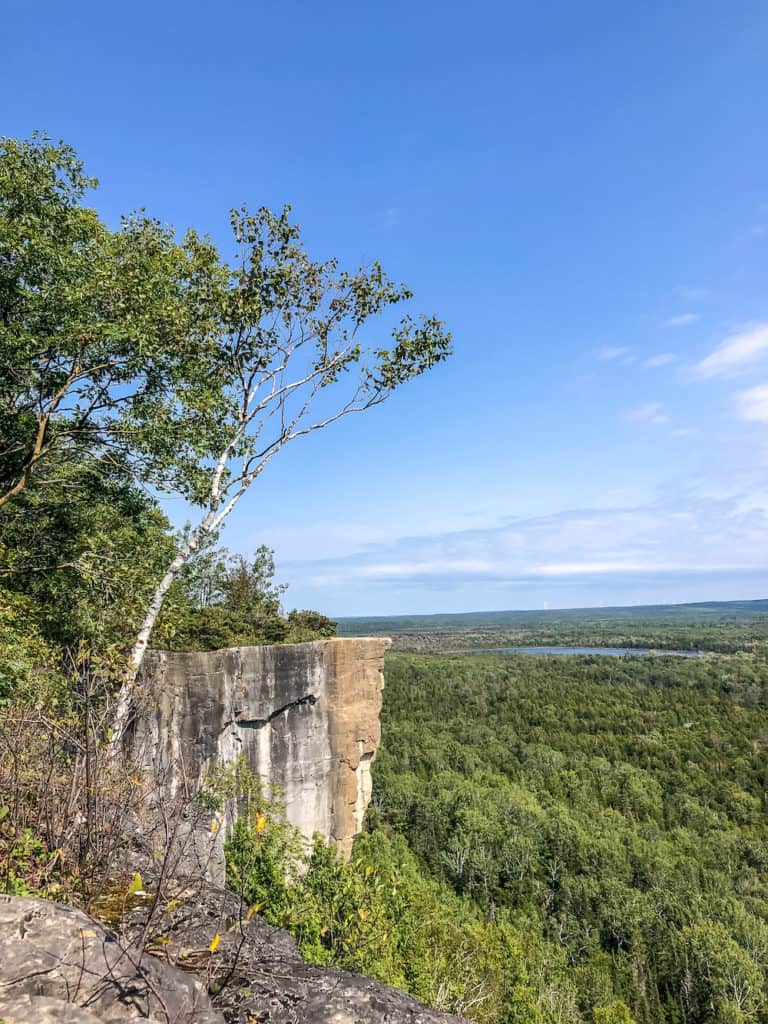
This is where you’ll get the classic shots of the jutting limestone cliffs hovering over The Saucer, the valley, below.
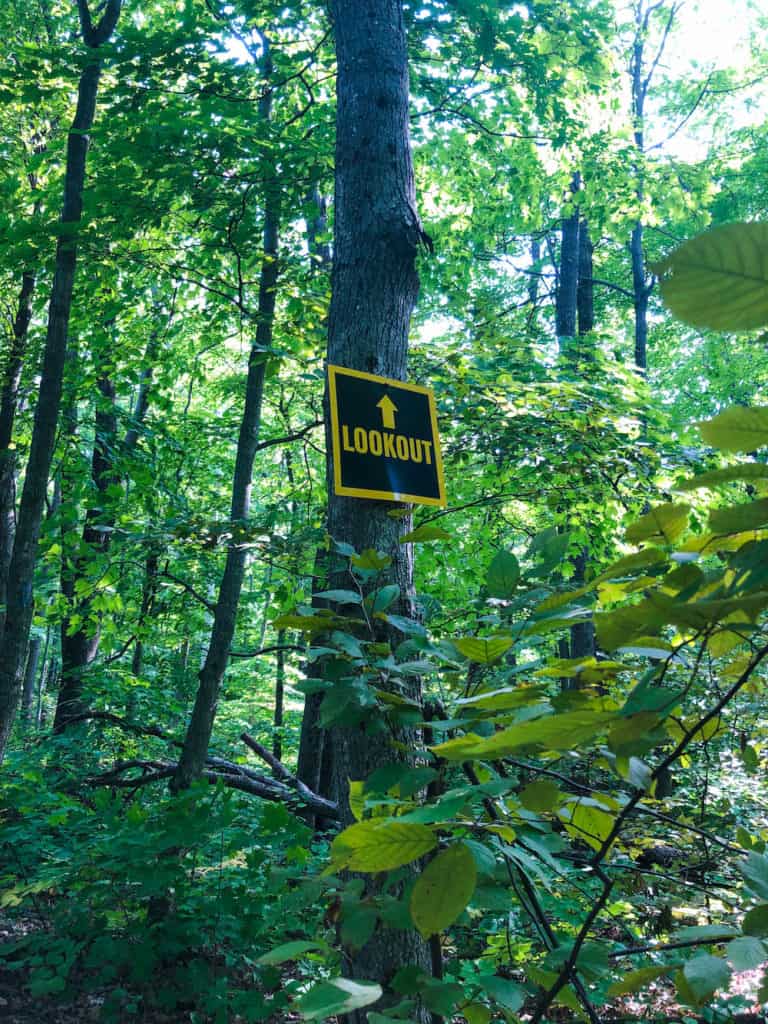
As it is the most popular trail, it is pretty well marked. If you’re in doubt, listen for other hikers nearby and you can follow them to the proper path.
This trail is ranked as Easy-Moderate; however, there is a fair bit of uphill climbing required. While the path is fairly well maintained, you will experience some one-person paths and some upturned roots. It is not a good trail for anyone concerned about accessibility.
That being said, it is perfectly suitable for a hiking beginner.
This is the trail we focused on, as it offered the best views, and we were trying to get to Bridal Veil Falls before dark.
Blue South Trail (Easy – Moderate) – 5k
The south trail that is shown as the Blue Trail on the map is a longer journey for the Cup and Saucer Trail.
This 5k addition will loop around the entirety of the cliff, offering Eastern views over the Escarpment.
We opted not to do this part, as we were on a time crunch. It seems like popular, with even the map sort of forgetting to include any information on what you’ll take in.
If you’re looking for a more peaceful section to hike, this is the spot for you.
Less people take this trail, so you’ll have a quieter adventure through the hills of Manitoulin Island, even though you’re still on one of the most popular hikes in the area.
Yellow Trail (Difficult) – 500m
Along the Red Trail, you’ll see an offshoot. This is the Yellow Trail or the adventure trail.
It is only 500m long (although some claim it’s 2km), but it will work up a sweat.
The trail seems like an obstacle course full of ladders, stairs, and general thrill-inducing activities that will have your heart pounding out of your chest.
This trail isn’t for beginner hikers. It’s best kept for hikers with some experience who are wearing proper hiking boots.
The entrance is sort of hidden. You’ll mostly note it when you see a sudden set of stairs on your left-hand side when you reach the summit of the trail.
I’m told this route is ever-changing, as it constantly has to be rebuilt to adjust for erosion. That alone had me saying NOPE! I didn’t have adventure travel insurance for this trip, and I wasn’t prepared to risk it.
If you’re prepared to get a little muddy climbing over rocks and maneuvering through the obstacle course of ladders, this is a great add-on to your hike.
Cultural Significance of the Trail
The Cup and Saucer Trail has been traversed for centuries. Long before the Europeans arrived in Canada, the First Nations of the area were exploring these trails.
The traditional name of the hike is “Michigiwadinong”, which means “bluff in the shape of a spearhead” in Objibwe.
It is said that the mythological Nanabush from Ojibwe folklore lay down his spear points here while fleeing from Iroquois warriors after they were chasing him for his generations of tricks and torment.
It is important to remember the land that you are walking on when you hike the Cup and Saucer Trail. Its ties to the Indigenous People of Manitoulin Island are too important to be dismissed for an Instagram shot on a cliff’s edge.
Why is the Trail so Popular?
The Cup and Saucer Trail has gained popularity in recent years due to its epic views.
Not only is it an accessible trail for beginner hikers and families, but it also has Instagram-worthy shots where you can look like you’re about to fall off a cliff.
I chose to hike the trail due to its popularity and its participation in The Great Spirit Circle Trail – a cultural tour of Manitoulin Island.
Most people didn’t seem to know what I was talking about when I mentioned that though.
Instead, they came armed with cameras, drones, and selfie sticks, clearly set on getting the perfect shot.
Where is the Cup and Saucer Trail?
The Cup and Saucer Trail is located on Manitoulin Island. It is a 20-minute drive south of Little Current, heading towards M’Chigeeng.
You can access it off of Highway 540.
There is said to be ample parking, but not always at the trailhead itself. The earlier you arrive, the better chances you have of finding a good spot to park for your hike.
You’ll find the parking lot by searching for “Cup and Saucer Trail” on any GPS or Google Maps.
If for some reason it’s not showing up, type in “4097 ON-540 Sheguiandah, ON”. That’s the actual address of the trailhead.
How Long Does it Take to Hike the Cup and Saucer Trail?
Since the trail isn’t a straight loop, the length of time it takes to hike the Cup and Saucer Trail is mainly dependant on you.
My friend and I hiked the Red trail, which is about 5km. It took us about 2 hours with all of the stops to take photos, eat a quick snack, and move out of the way for passersby.
If you do the entirety of the trails, it will likely take you 4 hours, give or take photo/food time.
When to Hike the Cup and Saucer Trail
The Cup and Saucer Trail on Manitoulin Island is easily the best thing to do on the island.
But it’s not always amazing to visit.
Winter makes the trail slippery, difficult to traverse, and downright dangerous along the cliff edges.
The best time to visit is in summer or autumn. These seasons mean that the trail is relatively dry, so you don’t have to worry about mud up to your knees. They also have fewer rainy days, so you have a better chance of a clear hike.
Summers in Manitoulin Island can be quite hot. I personally prefer an autumn hike for the cooler temperatures.
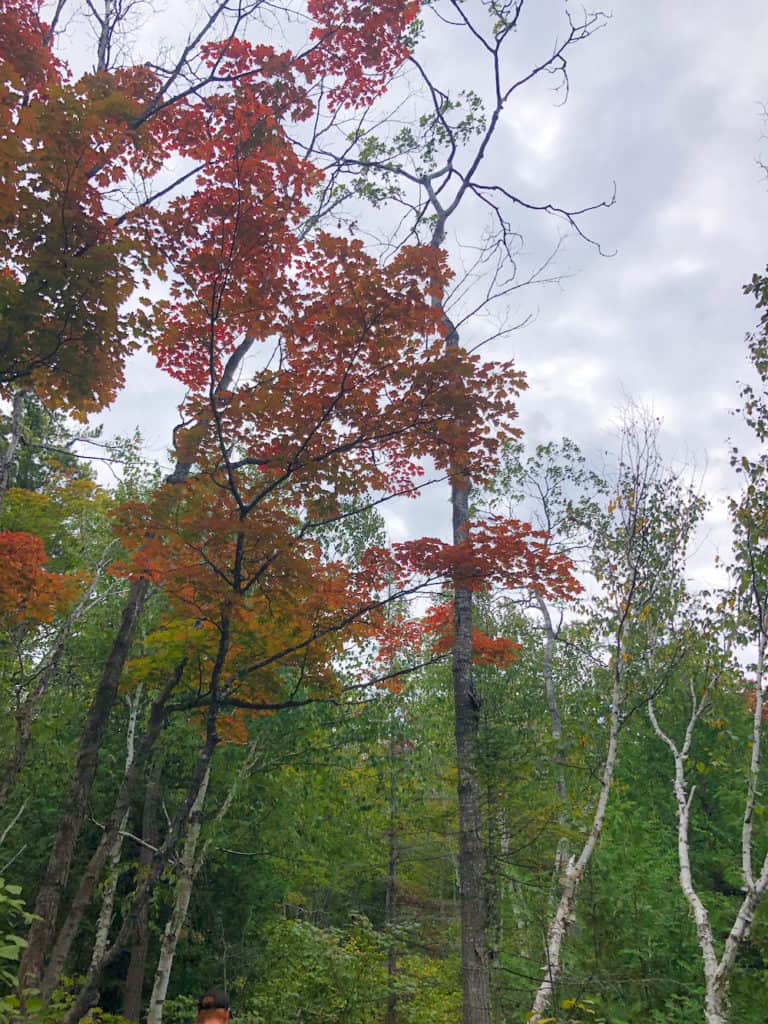
I visited in September, but wished I had waited until October to get the breathtaking view of all of the leaves changing colours.
With the vantage point over the escarpment, you’d get the perfect fall foliage picture.
Now that we’ve figured out the best time of year to visit the Cup and Saucer Trail, we need to determine the best time of day to go hiking.
I always recommend a morning hike.
Most people aren’t morning people, but I am! I’m usually up between 4-6am every morning (I do sleep! I just go to bed crazy early). That means I can get on the hiking trails before anyone else.
On a busy trail like this, going early means that you’ll have a much more peaceful hiking experience.
I recommend going just after sunrise in the autumn season, around 7am to get the trail to yourself and to see the Cup and Saucer Trail come alive for the day.
Hiking the Cup and Saucer Trail on Manitoulin Island
We set out for the Cup and Saucer Trail after a late breakfast in our RV. My friend and I had different schedules, so my usual early bird hiking times were delayed.
That meant we were hiking around 11am, during the hottest part of the day. In the first week of September, that wasn’t an issue. It was about 23C, which wouldn’t ruin a hike.
However, in the summer I recommend avoiding this time, as you’ll be sweltering before you even leave the parking lot.
Many people hike this trail with their families. Setting off just before lunch meant a lot of people on the trail – both starting and finishing it.

On our way up, we had to squeeze against the walls of boulders or fumble into the brush to let people past.
Unfortunately, it’s not a very COVID friendly path. And the people didn’t seem concerned with hiking manners (i.e. move aside on single paths, don’t just cram through against people).
The trail ascends quickly, with a leisurely incline quickly rising until you’re clambering over a few rocks and panting as you lunge up the hills. It only lasts a few minutes, with the worst of the incline over before you’re 30 minutes into the route.
I’m usually a silent hiker, listening to the sounds of nature or drowning out people with my travel podcasts.
This time, I was trying to make conversation with my friend. I didn’t realize how out of shape I was until I couldn’t get through a sentence without gasping for breath!
The easy trail definitely challenges you if you’ve been holed up inside for a year and a half, not getting in those step ups at the gym like you kept telling yourself you would!
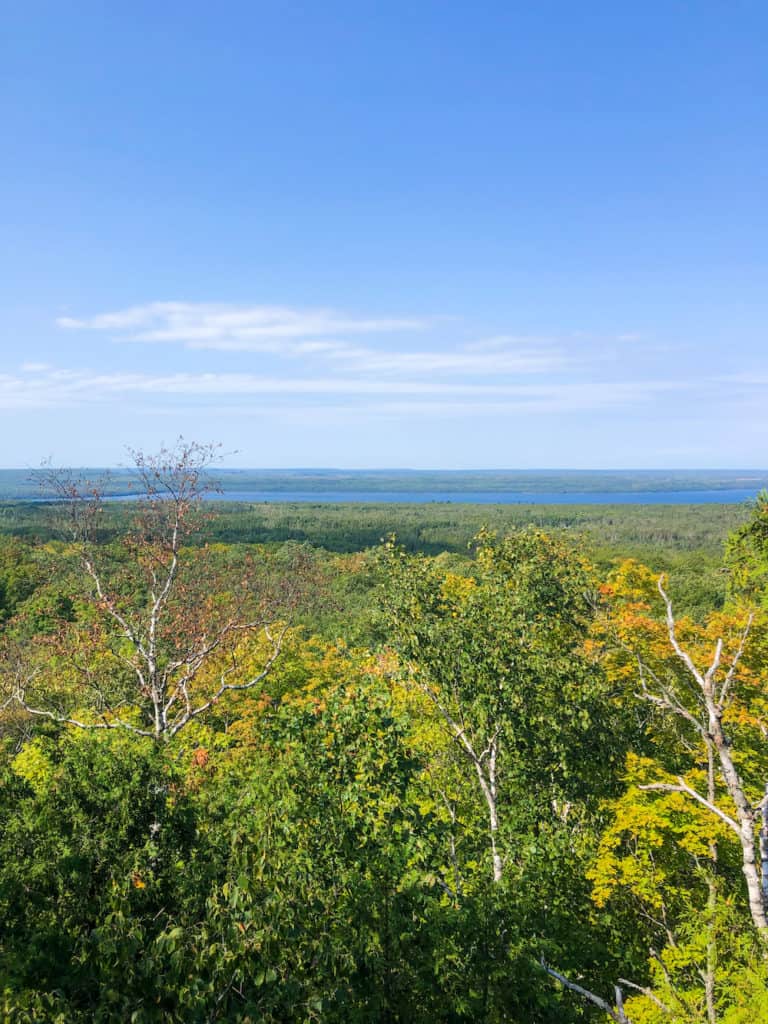
Once the trail levels out, you immediately see the vistas that are so acclaimed. The first one was just a gap in the trees that offered a peak at the forest below, beginning to be patched with fall foliage.
As we continued, the gaps grew larger, with stone outcroppings hanging precariously over the edge.
Now, I’m not afraid of heights – as you can tell by my skydive and hot air balloon ride. My friend on the other hand went ashen the moment I walked to the cliff’s edge and looked down.
The Cup and Saucer Trail is named for the valley and the cliffs, but I first thought it was called that because the cliffs jut out like a saucer.
Apparently I was wrong.
But that didn’t stop me from getting as close to the edge as I could at every opportunity.
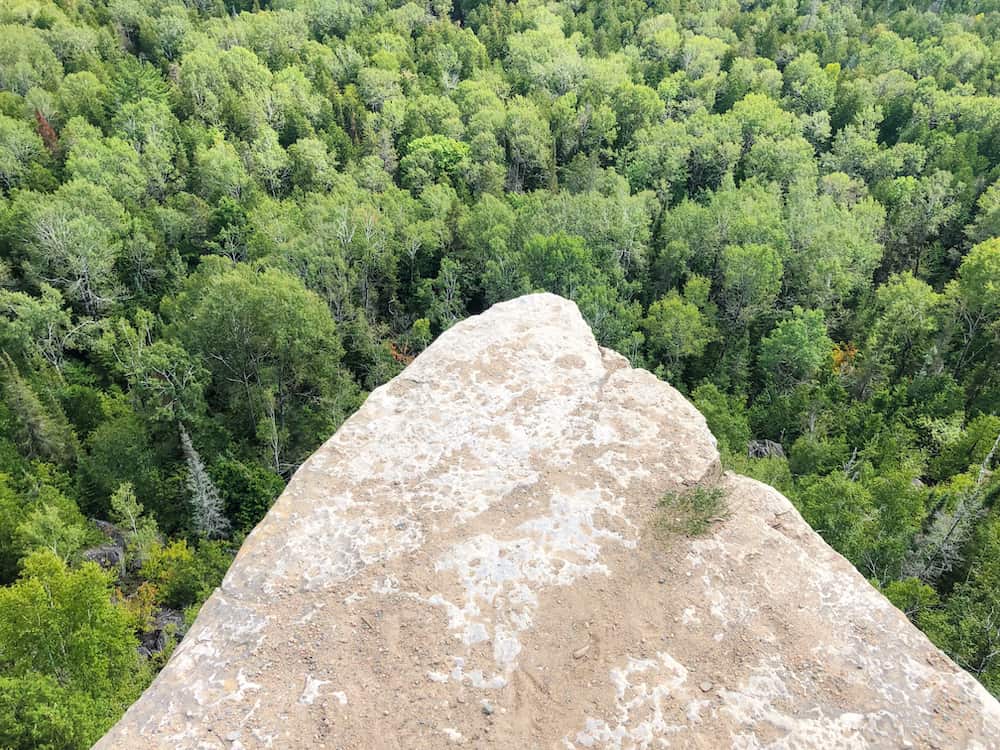
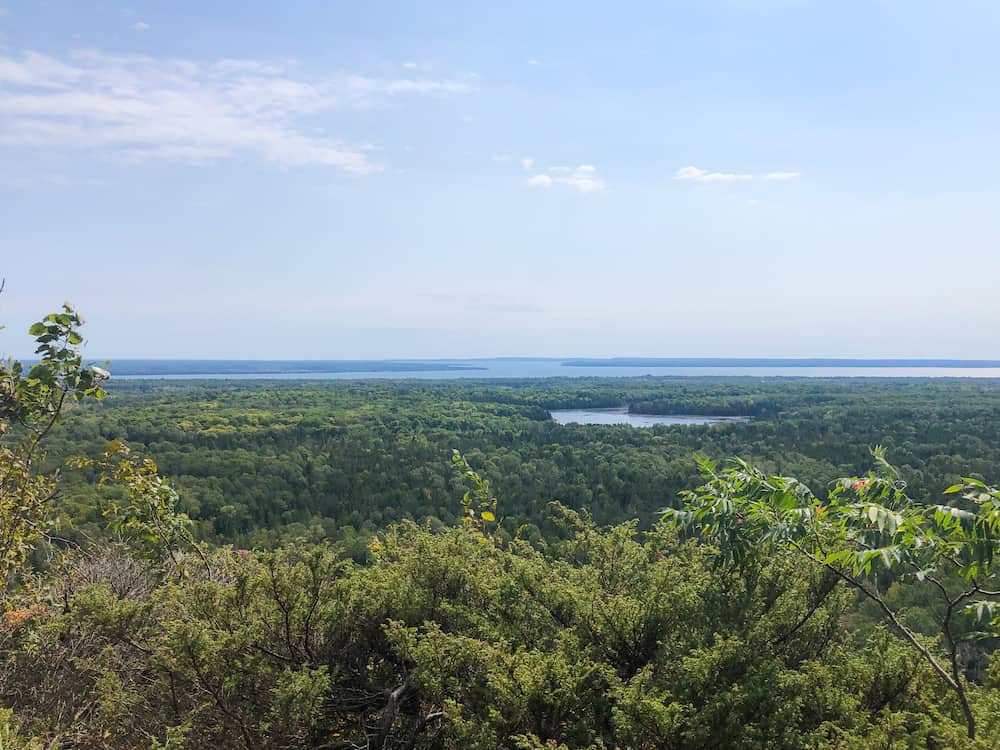
The Red Trail that we were following ends at a large clearing, where the biggest cliff can be found.
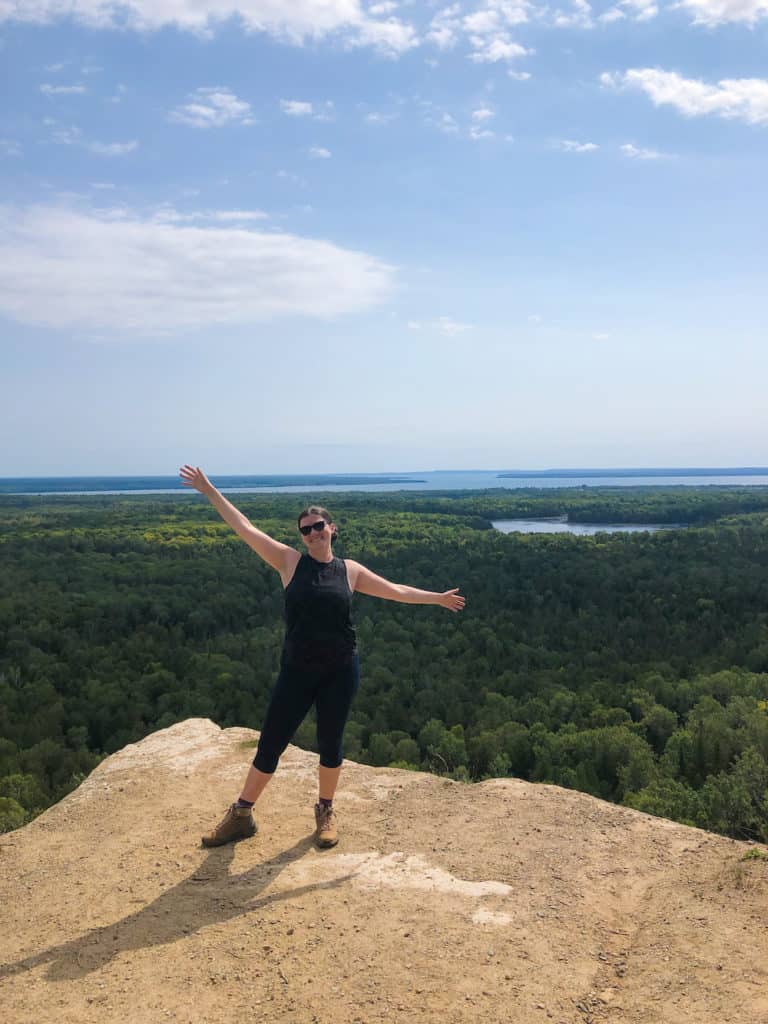
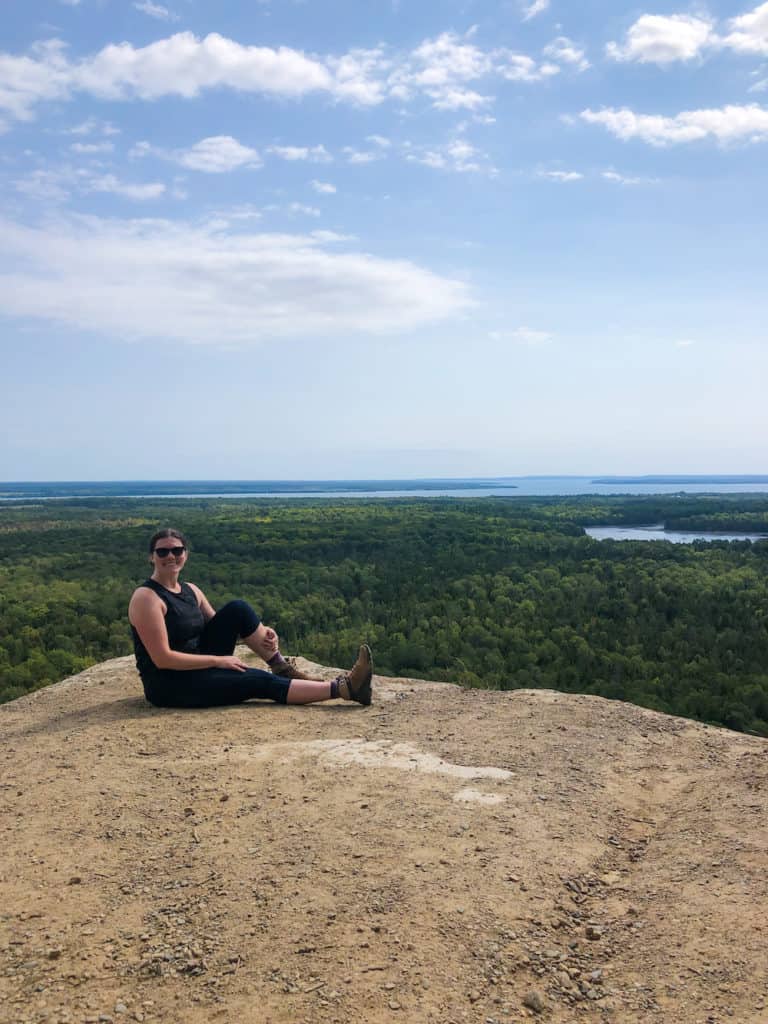
This is the spot you’ll see on Instagram, with people seemingly balancing over the Escarpment as they sit on the cliff’s edge.
Many people stop for a quick selfie and keep going.
I made us stop for a full on photoshoot, that involved my poor friend (bless his heart) clambering through the trees to get a better wide angle.
Pro tip: always bring a friend who is willing to face their fear of heights to get you the perfect picture.
If you can’t, bring a tripod!

This is the end of the Red Trail loop. You can keep going along the cliffs to the Blue Trail, which will add 5km to your journey.
Although it’s relatively flat, it is marked as easy to moderate because it is far less traversed. This means more obstacles in your path, and fewer signs that you’re headed in the right direction.
As it was, the signage on the Red Path was adequate, but we nearly wandered the wrong way twice due to echoing voices from other hikers and what seemed like a stray path.
We opted to stick with the shorter hike, as we wanted to visit Bridal Veil Falls before heading back to our campground for the night.
I recommend stopping, like we did, to sit on a quiet outcropping of the rocks and have some water. Take a few bites of a protein bar or some nuts while you gaze out over the landscape.
That was the moment that made the hike worth it for me.
The pictures I got from our photoshoot couldn’t compare with the peaceful feeling of sitting with the breeze blowing my pigtails and my feet resting on the sloped rock as we stared at hundreds of trees. You could just spot a few small lakes through the foliage. Although there is a highway nearby, you don’t notice it when you’re enjoying the nature.
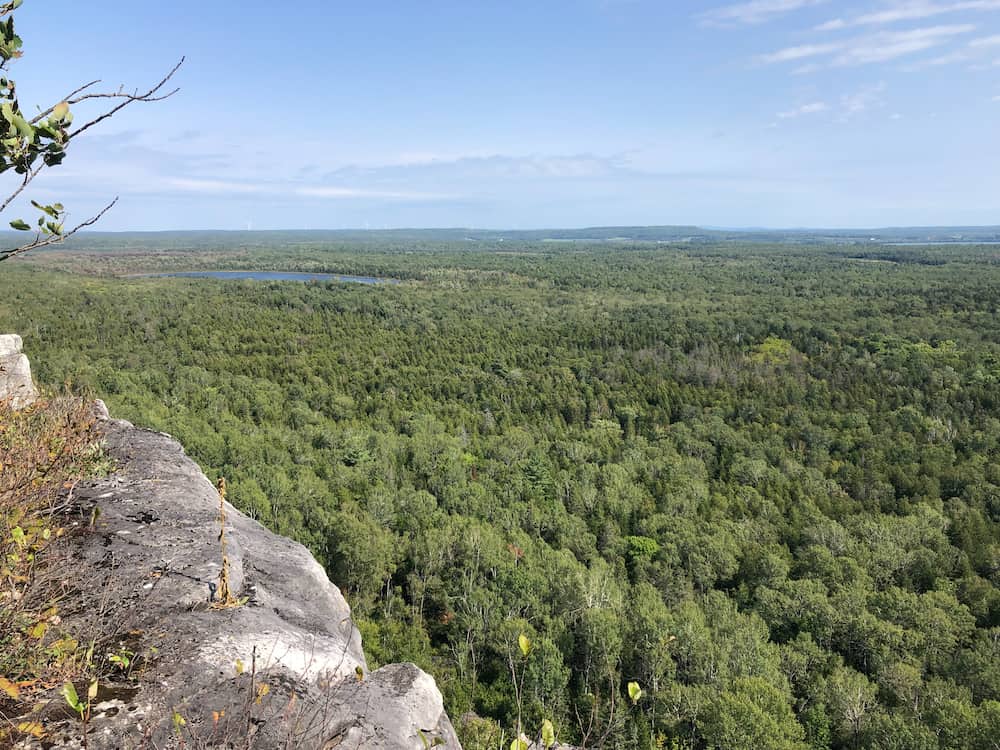
The return journey involves retracing your steps along the loop.
Since most of the path is one-person wide, this got complicated. Many children and families with dogs would try to cram themselves past others.
I preferred to move out of their way and wait for legitimate gaps so we could continue our descent.
Thankfully, the warm day meant little mud on the boulders you have to climb between, so when people did brush past, you weren’t shoved into a muddy wall.
The descent isn’t too difficult. As long as you look where you’re going, and don’t try to run down the hill, you’ll be fine even if you’re wearing sneakers – which I don’t recommend.
Overall, the hike was fantastic.
It was just what I needed after a few trip ups on our Northern Ontario road trip.
Getting into nature is the best thing to do, and one of the reasons why I loved Manitoulin Island so much.
If you’re in the region, I highly recommend adding the Cup and Saucer Trail to your list – even if you only do the Red Trail, like we did.
Tips for Hiking the Cup and Saucer Trail
- Don’t try to overachieve by going for a difficulty level you can’t handle. Stick with what you know you can do. It’s better to be safe than to get stuck or injured!
- There are a lot of children on this trail and a fair number of dogs. If you have a problem with either, this may not be the trail for you.
- Bring a camera or phone to take photos of the vistas. Even if you aren’t in it for the ‘gram, you’ll want to remember how beautiful the views are.
- Let others know where you’re going before you do the hike. It’s well-populated, but that doesn’t mean those people care about you if something happens.
- There is minimal cell service on or near the trailhead. If, like us, you’re going somewhere else afterward, it’s a good idea to screenshot your map or download an offline Google Map.
- Bring a water bottle. The ascent will make you desperately parched!
- It gets windy on the cliff’s edge. Secure your hat before you end up losing it to the Escarpment.
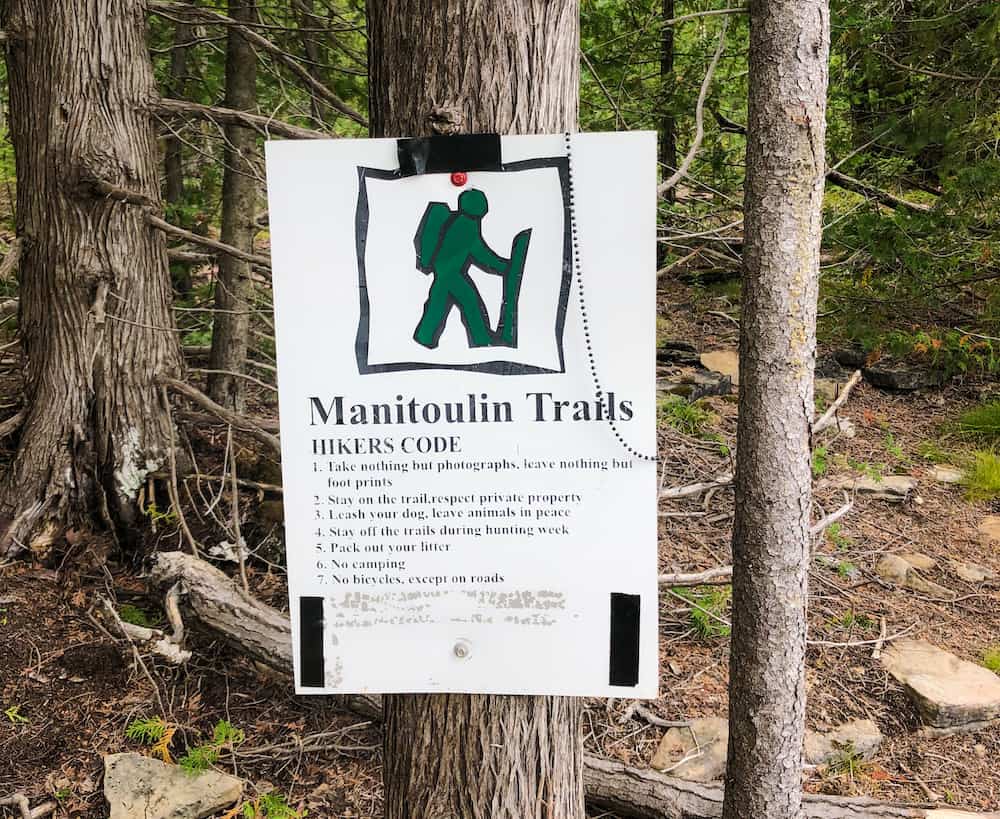
- Remember: leave only footsteps. That means take away your trash!
- You can register for a certificate that you hiked the trail after you’ve completed it

I recommend these hiking boots
Amenities at the Trail
We all know the hike isn’t the only thing that matters.
Let’s talk amenities.
No, not cushy spa robes at the end (although wouldn’t that be epic??).
The Cup and Saucer Trail has bathrooms in the gravel parking lot by the trailhead. These are the only toilets you’ll find along the route. They are long-drop toilets where you don’t flush. You’ll need to bring some hand sanitizer for after you go.
There is no food at the trail, but you can drive the 5-10 minutes to M’Chigeeng to enjoy many small restaurants.
The trail is extremely well-maintained during the on-season. As it’s so heavily trafficked, the workers do an amazing job of keeping it clean and accessible for beginners.
What to Pack for the Cup and Saucer Trail
- Be sure to wear proper hiking boots.
- Pack a reusable water bottle that has at least 1L of fresh water.
- I always recommend hiking with a snack. My favourite are pepperoni sticks, chocolate with almonds, and apples. The vistas are a great place to stop for a snack.
- Bring a camera or phone. But hold onto it tightly!
- If you are hiking alone, be sure to have a portable GPS or satellite phone so you can contact others in case of an emergency.
- A hiking backpack to hold your gear and have somewhere to store the layers you may need to remove along the way.
I recommend these hiking boots
What to Wear Hiking
It is important to wear the right clothing when hiking in order to enjoy your time outdoors. While you can hike in a variety of shoes and clothes, there are certain items that will make hiking more enjoyable.
Gear has improved over the years so it’s no longer necessary for hikes to be uncomfortable or frustrating!
Here are some general guidelines on what to wear hiking:
- Hiking boots are a necessity. These trails have rocks, roots, and the occasional garter snake (which thankfully I never saw). Sturdy boots with good tread are a must.
- If you are hiking in the winter, be sure to have proper snow boots/shoes.
- It is best to avoid cotton clothing because it absorbs sweat and can leave you feeling cold when wet. Instead choose synthetic materials that wick away moisture making them more insulating than cotton as well as dry faster after getting wet.
- Wear layers on this hike, especially if you go in the morning. You’ll want to be able to strip down as you get hot during the walk. When we walked around mid-day, I only needed a tank top and my pants.
- This is an easy hike, so you can wear leggings. However, I recommend a pair of proper hiking pants.
- This is an easy hike, so shorts or capris will be fine. However, if hiking in the winter I would recommend pants over leggings because of wind resistance.
- You should wear sunscreen on this hike even if it’s cloudy.
- Always put on bug spray. These trails are very forested, and mozzies can ruin a good walk.
For more hiking tips and specific recommendations on my favourite hiking gear, check out my hiking guide.
I recommend these hiking boots
Where to Stay
Looking for somewhere to stay nearby?
My favourite option is Batmans Campgrounds.
We stayed at Batmans with our rental RV. You can also camp in a tent or car camp in their spacious lots.
With free WIFI, live music on weekends until 11pm, and $8 canoe rentals, this is an epic campground to enjoy your time in Manitoulin Island.
While there are hotels and Airbnbs to stay at, I recommend trying out a campground. It’s the best way to enjoy the early morning sunsets, the serenity of the forest, and to get back to nature.
If you don’t want to camp, Batmans also offers cottage rentals.
Rent a Car
To hike on Manitoulin Island, you’ll need to rent a car. Many locations aren’t accessible by public transport or trains.
You’ll have more freedom by renting a car to explore more hiking trails and attractions in Northern Ontario.
I recommend using Discover Cars to quickly compare rental options.
Their comparison tool does the homework for you, so there’s no need to have up 10+ tabs trying to figure out which company is the most affordable. Actually, you can save up to 70% using their tool!
Rent an RV
If, like me, you’d rather experience a Northern Ontario road trip in the comforts of home, you should rent an RV.
I rented a 25 foot RV from Montreal. It came with all of the features I needed, like a back up camera, room for two beds, a generator, and easy to use appliances. It even included a 1 hour lesson on how to use the RV before my friend and I hit the road.
With RVs available across North America, you’re sure to find one in your hometown so you can experience more amazing road trips.
Rent your RV today with RVShare.
Closing Thoughts on the Cup and Saucer Trail, Manitoulin Island
Hiking the Cup and Saucer Trail in Manitoulin Island is a wonderful way to enjoy the unique history and culture of this island.
You’ll be participating in an Indigenous tradition of exploring the natural landscapes of Ontario, and have the opportunity to complete the Great Spirit Circle Trail by visiting the drum-making classes nearby!
There’s no better way to experience the natural beauty of Manitoulin Island than by hiking the Cup and Saucer Trail.
I hope this guide has helped you plan your hiking trip to Manitoulin Island. Have fun hiking in Ontario’s beautiful wilderness!
Related Posts
- Ultimate 7 Day Northern Ontario Road Trip Ideas
- Visit the Scarborough Bluffs: The Best Hiking Trails & Beaches in Toronto
- Ultimate Guide to the Beaches Neighbourhood, Toronto
- 20 Cozy Cabins in Ontario for an Autumn Weekend Getaway
- What to Wear Hiking: A Complete Guide for Beginners
Pin this for later!
Canada Travel Planning Guide
🚑 Should I buy Canada travel insurance?
100% YES! — Canada has “free” healthcare but it’s only for citizens! Foreigners visiting need travel insurance in case anything happens on their visit. I recommend World Nomads – starting at just $5 a day!
💧Can you drink the water in Canada?
Yes — In all major cities in Canada, you can drink the tap water. There are very few, rural areas that you can’t. However, you should never drink river or lake water anywhere in the country! I recommend a Brita Water Bottle for long hikes and backcountry camping to stay safe and hydrated.
🚙💨 Is it safe to rent a car in Canada?
Yes — Renting a car is a necessity in most of Canada! If you want to go on road trips or adventures outside of the major cities, you’ll need to rent a car. (Read more)
📲 Will my phone work in Canada?
Maybe — Some American companies work in Canada, but many will not. If your phone doesn’t work in Canada, I recommend getting a Canadian SIM card so you can get around and stay in contact with loved ones. We don’t have a lot of free WIFI in Canada, so you’ll need your phone for maps.
🏩 What’s the best way to book my Canada accommodations?
My go-to for Canadian hotels is Booking.com. For hostels, I use Hostel World. If you want a home-y feeling, check out VRBO (which is cheaper and safer than Airbnb).
Or get free accommodations with Trusted Housesitters!
✈️ What’s the best site to buy Canada flights?
For finding cheap Canadian flights, I recommend Skyscanner.
🎫 Do I need a visa for Canada?
Likely Not — US, UK, and EU passport holders don’t need Canadian visas. However, some other countries do (check here!). And if you plan to stay for more than 4 weeks (an average tourist visa length), you will need to look into visas to live in Canada.